
How to register for a LAC account
A Library and Archives Canada (LAC) account is a free, personalized service to save research, track orders, and manage contributions. This page explains how to sign in to your LAC account, update your information, and get help if you have issues with your account.
On this page
Who can access LAC account
Anyone in Canada or abroad can create a LAC account to support their research. Users must sign in with GCKey or Interac to ensure that personal information stays protected while they are accessing LAC’s digital services.
How to register for a LAC account
Follow these steps to create a LAC account if you’re a first-time user.
1. Sign in
Select the Sign in button, located on the top right corner of the following applications: Collection search, My research, Co-Lab, Track my archival order and LAC funding portal.

Sign in button location - Text version
The banner located at the top of the Collection search main page. A “Sign in” button is circled in red in the upper right corner.
2. Register for an account
To create a new account, select the Register for an account button. If you had a LAC account before September 2025, select Sign in to your account.

Register for an account button location - Text version
The two options available to access a LAC account. One is a dark blue button for returning users and the other is a white button with a blue border for new users, circled in red.
Below the two buttons are related links for help with signing in and registering for a new account.
3. Choose how you would like to sign in to your new account
You may sign in to your new LAC account using one of two methods:
- GCKey: your personal identification number for all Government of Canada accounts, including the CRA and Parks Canada. Everyone can register for a GCKey.
- Interac Sign In: Use your online banking credentials through one of the listed financial institutions.
Once you have successfully signed in with GCKey or Interac, continue to Verifying your email address.
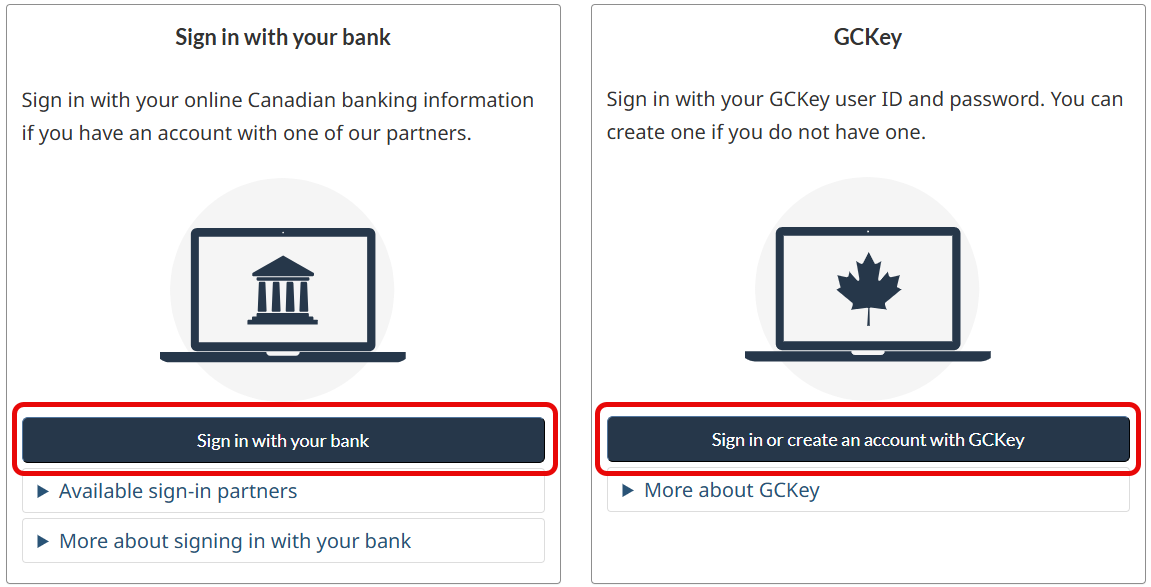
Choose your sign in option example - Text version
The two options available to users to sign in to their LAC accounts.
Option 1: Using one of our Sign-In Partners
- A dark blue button, circled in red, that allows users to sign in using a designated sign-in banking partner
Option 2: GCKey
- A dark blue button, circled in red, that allows users to sign in using their GCKey
Under the two buttons are expandable text boxes with additional information about sign-in partners and GCKey.
4. Verifying your email address
Enter your email address and click Send code. This is a one-time step to secure your account. A verification code will be sent to that address.
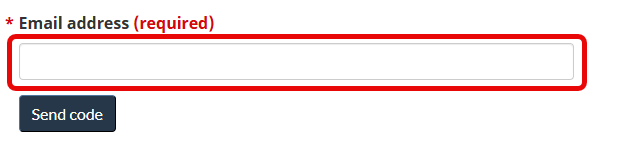
Email address input field example - Text version
The text box, circled in red, where users enter their email addresses to be verified as part of the new sign-in process. There is a “Send code” button under the text box
5. Enter the verification code
After you click Send code, a six-digit verification code will be sent to the email address provided. Enter this six-digit code in the specific text box below where you entered your email address and select Confirm.
If you don’t see the email with your verification code in your inbox, check your junk or spam folder. The code is valid for six minutes. If it expires, click Resend code.
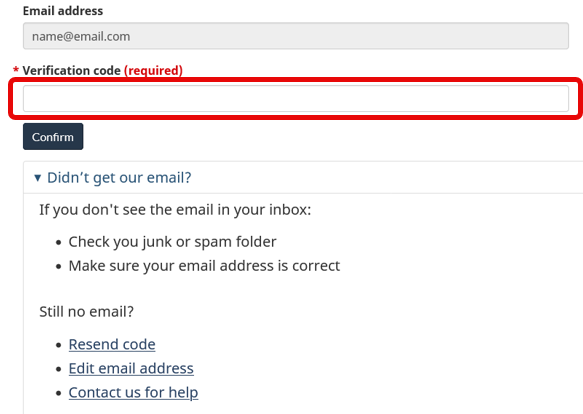
Enter verification code input field example - Text version
The text box, circled in red, where users can enter email verification codes. Below that text box is a button to confirm the code and links to resend the code, edit the email address, and contact for help.
6. Complete your LAC account information
After you have successfully entered the verification code, you will be prompted to enter a display name and your first and last names. All fields are required. Once done, select Confirm.
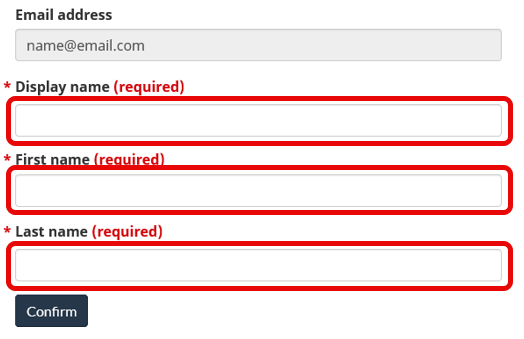
Personal information input field example - Text version
The text boxes for your display name, first name, and last name. All are circled in red to indicate that these are required fields. Under the third text box is a button to confirm the information.