
Brochure: Authorizing a representative
Follow the steps below to give your representative access to your tax information.
Brochure description
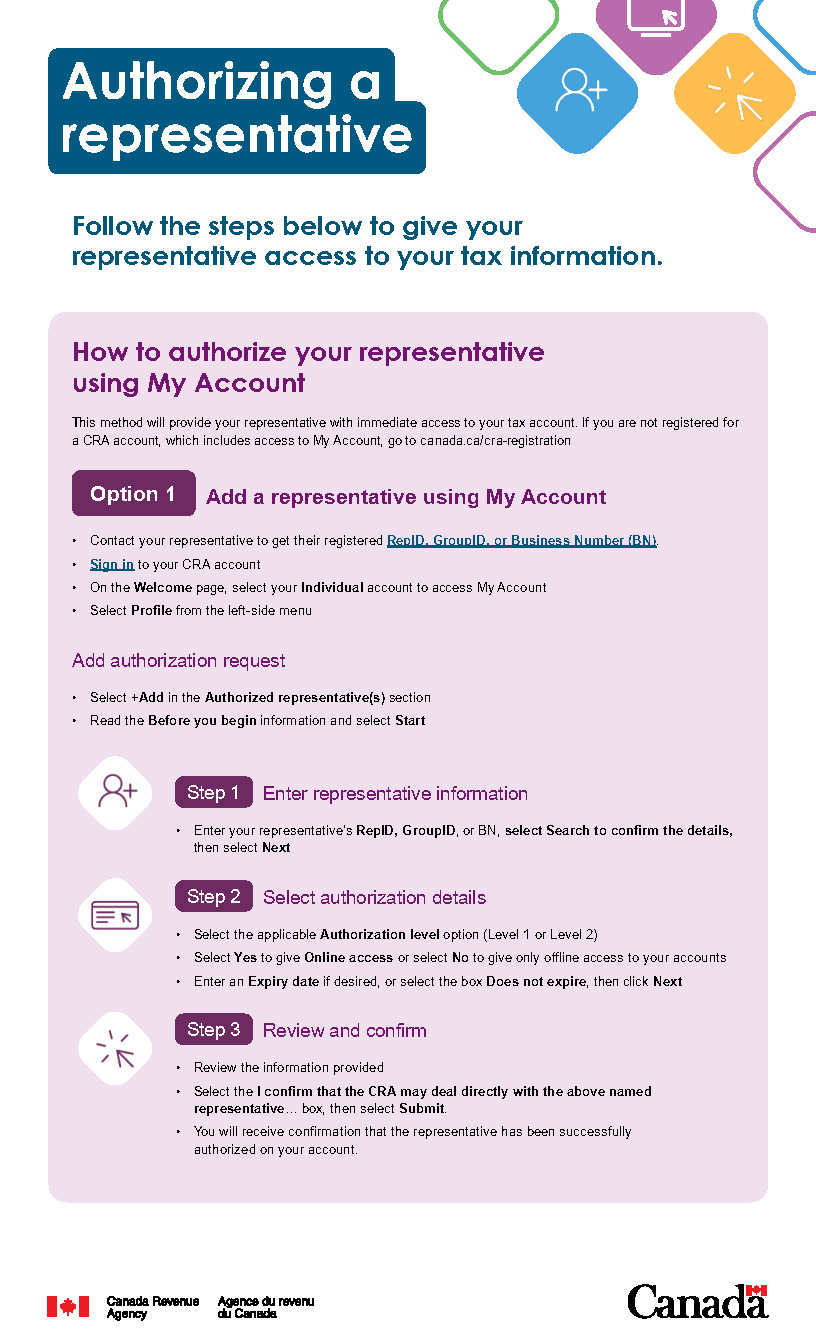
How to authorize your representative using My Account
This method will provide your representative with immediate access to your tax account. If you are not registered for a CRA account, which includes access to My Account, go to canada.ca/cra-registration
Option 1 - Add a representative using My Account
- Contact your representative to get their RepID, GroupID, or Business Number (BN).
- Sign in to your CRA account
- On the Welcome page, select your Individual account to access My Account
- Select Profile from the left-side menu
Add authorization request
- Select +Add in the Authorized representative(s) section
- Read the Before you begin information and select Start
Step 1 – Enter representative information
- Enter your representative's RepID, GroupID, or BN, select Search to confirm the details, then select Next
Step 2 – Select authorization details
- Select the applicable Authorization level (Level 1 or Level 2)
- Select Yes to give Online access or select No to give only offline access to your accounts
- Enter an Expiry date if desired, or select the box Does not expire, then click Next
Step 3 – Review and confirm
- Review the information provided
- Select the I confirm that the CRA may deal directly with the above named representative… box, then select Submit.
- You will receive confirmation that the representative has been successfully authorized on your account.
Option 2 - Add a representative by confirming them in My Account
To use this service, your representative must first submit an authorization request through Represent a Client to request access to your information. Once submitted, you must:
- Sign in to your CRA account
- On the Welcome page, select your Individual account to access My Account
- Select Profile from the left-side menu
Step 1 – Pending representatives
- Select Confirm pending authorizations in the Authorized representative(s) section
- Under Pending authorization requests, select the representative's name to continue
- If there are no pending authorization requests, a message will display that As of (the current date) you have no pending representatives. Check with your representative to make sure they’ve submitted the access request
Step 2 - Review representative information
- Review the authorization request information
- To confirm the request, select Confirm authorization. In the Confirm authorization window, select the I confirm that this pending authorization will be approved, then select Submit.
- To deny the request, select Deny authorization. In the Deny authorization window, select either Deny or Deny and restrict, then select the I confirm that this pending authorization will be rejected, then select Submit.
You will receive confirmation that the representative has been successfully authorized or not.
How to authorize a representative using the alternative process for individuals
Your representative may use the Alternative process for individuals if you provide them with your previously assessed tax information.
Step 1 – Provide your representative with your tax information
- Provide your representative with information from your notice(s) of assessment
- The required tax line and year will be displayed to your representative while they are submitting their authorization request in Represent a Client
If you have more than one assessment or reassessment for a particular tax year, ensure to have them all available for your representative.
Step 2 – Review and confirm authorization request
- Review the authorization request information, then sign the signature page provided to you by your representative for them to upload in Represent a Client for the pending request.
- The CRA may contact you to verify the authorization request.
- Provide your representative with information from your notice(s) of assessment